MS-828 Template
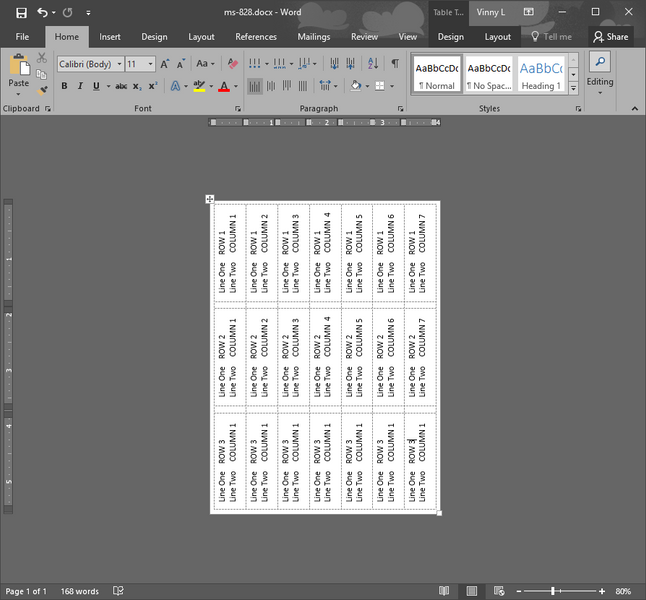
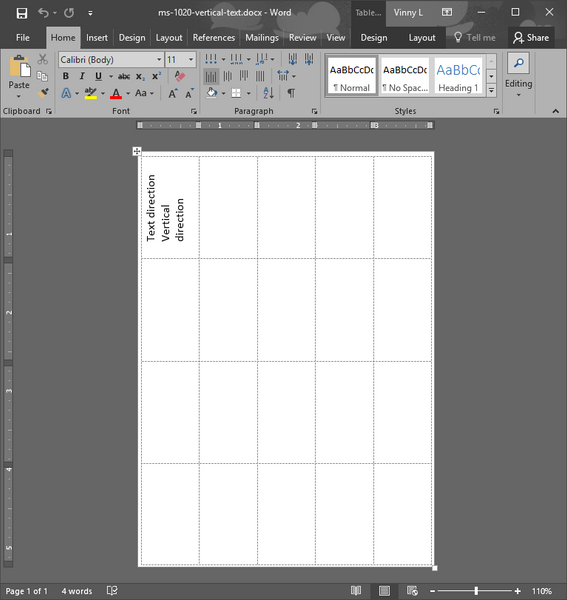
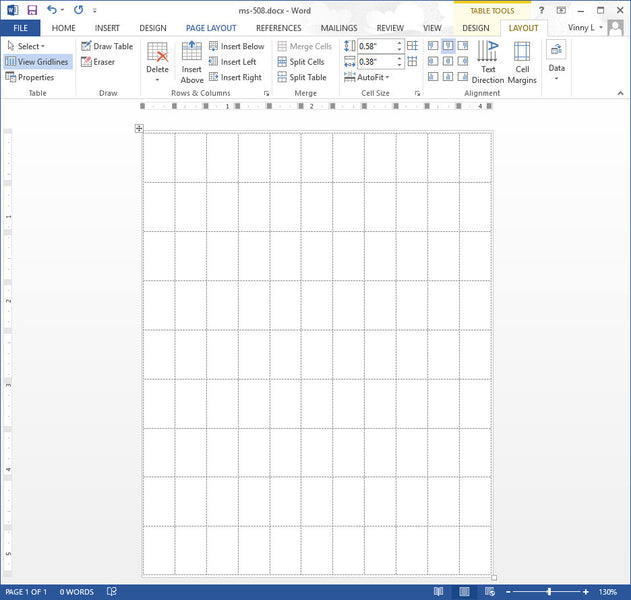
The MS-828 is a removable label that is 1/2″ wide and 1-3/4″ long. The text has been given a vertical orientation so that you can fit your text. These labels have small margins, and your particular label may not be able to physically print on the leftmost, rightmost, topmost and bottom most part of the sheet. They were originally designed for hand applications. If you need a template, you can easily create your own.
If you know you can safely print these labels on your printer, then you can use the above label.
Viewing Microsoft Word Cell Grid lines -Seeing the Label Update
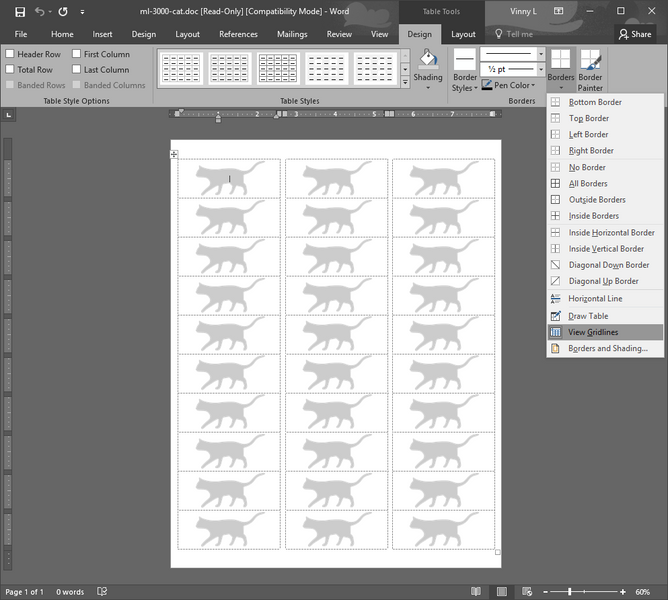
In our old post we showed how to make Cell Grid Lines visible in Microsoft Word 2007. We’ll need an update to that. It’s pretty much the same, now it just looks different. For Microsoft Word 2010, or Office 365, you’ll find it under the Design tab, then click on Borders, and select “View Gridlines” from the drop down menu.
The cat address labels above are on the ML-3000 address labels.
MS-1224 Label Template
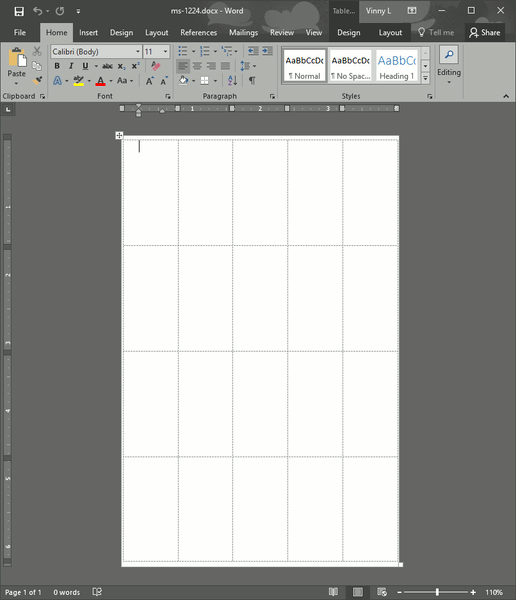
The MS-1224 is a rectangular removable label that is 3/4″ X 1-1/2″. Occasionally folks would like to print on these labels, so we’ve got some caveats before proceeding. Firstly, this label was originally designed for hand applications, and is removable. Some laser printers run very hot, and some printers have tight roller paths that the label sheet must travel on. Since this label is also removable, be aware that this label could detach from the backing sheet and become stuck in your printer. If you’ve already printed small sheeted removable labels in your printer, and are comfortable with printing them, you can use the following template:
Also be aware that printers physical margins vary from printer to printer. Your particular printer may not print at the outer margins (left,right,top,bottom). This can vary from 0″ to 3/4″. So printing on these small sheets may cover only the inner rows and columns. One more thing, if you’re having problems with the text not fitting, search our blog for ‘Vertical Text’ to help you get the text to run vertically in each cell. It’s much easier to change the text to vertical rather than change the orientation of the small sheet to landscape.:).
Just one more thing, cut out sheets of the same size to do test prints rather than wasting you’re labels.
One Across Pinfed Label Template
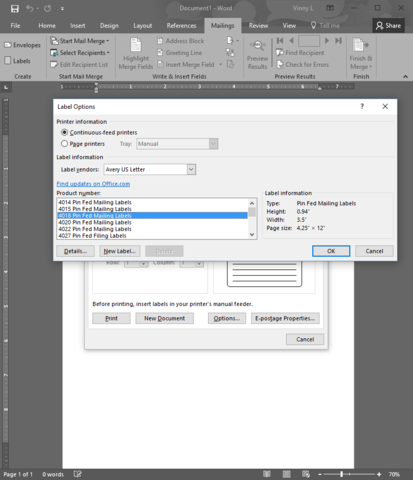
If you’ve read our old post ( https://macolabels.myshopify.com/blogs/news/pinfeed-label-printing-tip) on how to print the Maco 42-451 one across pinfeed label, you’ll note that the example template was for office 2007, which uses the Avery 4013 template, which is the same layout as the 42-451. If you’ve started using Office 10 or Office 365, you’ll notice that Avery 4013 is gone. But have no fear, there is another Avery number you can use. Use the Avery 4018. It’s the exact same layout as the 4013. The only difference is that the Avery 4018 is a removable label.
Just click OK, and then “New Document”, and you’ve got a new template:
MS-1020 5/8″ X 1-1/4″ Removable Label Template
Here is the MS-1020 label template. Each rectangular label on the small sheet is 5/8″ X 1-1/4″. The labels run lengthwise on the long dimension of the sheet. So when running them through a printer, it’s probably best to use a vertical font, which is in the template below.
These labels were originally designed for hand applications, and they are also removable. While customers use these templates to print, be aware that they can come off in the printer due to the fact that they are removable and there are also high heat conditions in some laser printers, and some very tight printer roller paths in some printers.
Microsoft Excel Import from CSV Tip for Printing Correctly Formatted Zip Codes on Address Labels
When you get a list from a client in CSV (comma separated values) format that you’re going to print address labels, or any kind of project , there are occasions when you’d like to import and work on the list in excel. However, when you import your data into Microsoft Excel 2016 and earlier versions, the zip code field, if you have one is recognized as a number. So after the import, all of the records with leading zeros, get stripped of leading zeros. All of the states in the northeastern united states with leading zeros are turned into 4 digit numbers. The Puerto Rico zip codes have two leading zeros and show up as three digit numbers.
The way around this is pretty straightforward:
1. Open your CSV file in a text editing program like notepad or Notepad++ (my personal favorite), and select and copy all of the data to the clipboard. You can use Ctrl-a, then Ctrl-c. 2. Open a blank Excel document, click inside the first cell, Cell A1, and the paste entire contents of the clipboard by typing Ctrl-v. 3. The first column should be selected after pasting, if not, select the first column, and clic Data, then “Text to Columns” 4. Chose Delimited, and click Next, then choose Comma and ” for text qualifier then click Next 5. Choose “Text” for column data format for each column. (unless you have number that you need to sum()). The Zip code field format should be formatted as Text. Although it’s a number, keeping it formatted as Text will preserve the leading zeros.
Now you’ll have correct zip codes with leading zeros.
Blank Name Tags
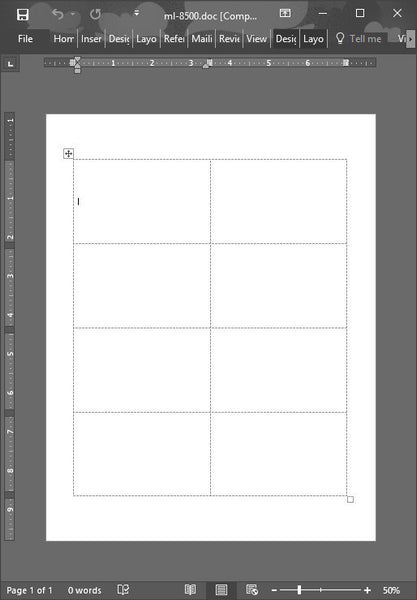
Do you hold events for which you need name tags? If so, we’ve got some name tags that are on an 8-1/2 X 11 sheet with card stock, and can be printed in a laser printer or inkjet printer. It’s the ML-8500.
If you need a template for it, look no further.
Click on the picture below for the ML-8500 template:
MS-508 Template
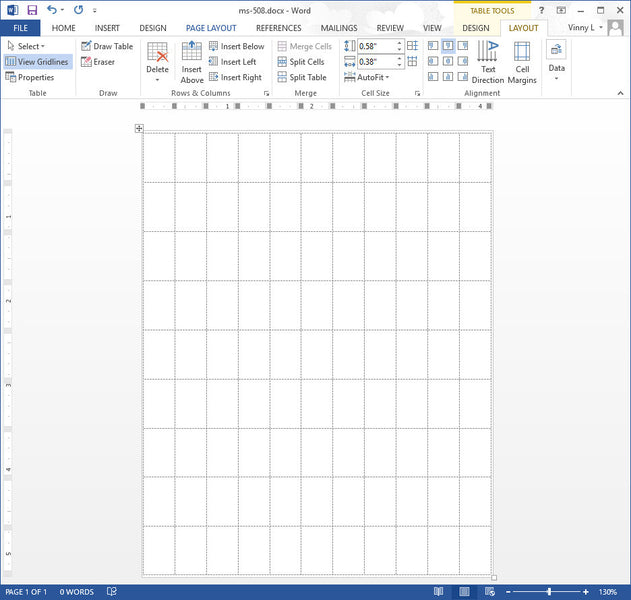
Here is a template for the MS-508 rectangular labels. Due to the small label size, 5/16″ X 1/2″, not much can fit on each label.
Before printing, and wasting sheets of MS-508 labels, cut out plain paper sheets of the same size.
Beware, printers have non-printing areas. Some printers non-printing areas are bigger than others. Depending on your printer, and there are many many printers out there in the wild, you could be able to print all the way out to the edge of the page. Or, you may not be able to print, or partly print on the top row, bottom row, left column or right column of labels.
The Text Direction was changed to Vertical because you can just fit more text. Depending on your printer, you might have to do some fiddling with the cell margins to get things to print exactly on label on your particular printer.
The Proper Way to Peel Off A Label
Unless you’ve got some experience with peeling and applying labels, you just won’t appreciate the title of this blog article. Believe it or not, there is a correct way to to peel labels from the backing sheet. Actually, I have that backwards. I should say there is a correct way to peel the backing sheet from the label. If you peel the label off from the sheet, the labels tend to curl up, and that can be a pain in the neck to apply. Not a huge pain, but if you’re peeling a large quantity of labels, it is definitely better to peel the backing sheet off of the label. To do this, place the sheet on a flat clean surface with the label facing the surface, and the backing sheet facing up. Curl the page at the spot where the label is, and grab the edge of the label. Then pull the backing sheet off. The backing sheet should be curled and the label should remain fairly straight. You’ll have an easier time applying your label so that it is straight, and square, and looks neat.
Garage Sale Sign on Full Sheet Labels
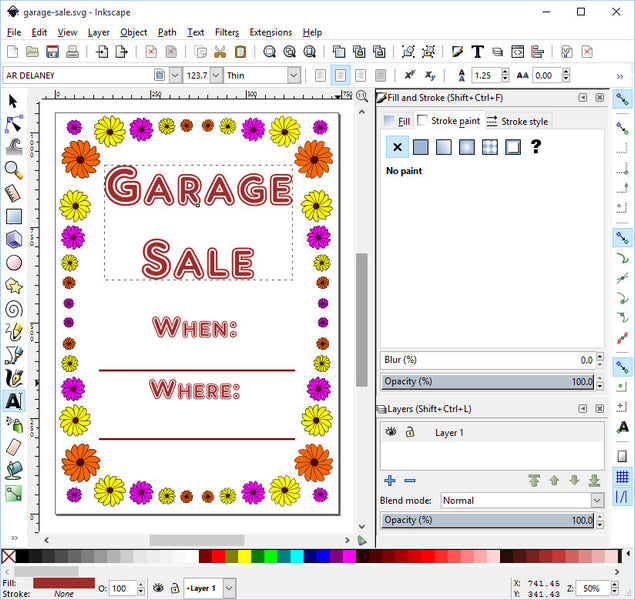
According to the Farmers almanac, it’s going to be a long cold winter. You’ll have plenty of time to figure out what things you need to get rid of to make space for the new things you’re going to get. Plan ahead for your Spring Garage Sale. Here’s a Spring Garage sale sign that you can print on our ML-0100 Full Sheet Labels.
You can print the Garage Sale sign directly from your browser, or download Inkscape, or use your favorite SVG editor to edit it to make it your own.
Adjusting Margins on 1/2″ Circle Label
So our old MR-808 template had teeny margins for some reason, and it only fit one letter on each line. It’s not really the margins that are the problem, it’s the indents. So here’s a step by step process to fix it:
If you look at the pic below, right above the first cell, you’ll see the left and right indent markers.
To Change this, just select all of the cells by clicking in the first cell and holding and dragging to the lowest left cell, then click on the PAGE LAYOUT tab. Then under indent, fill in some minimal margins. We used .06. The numbers might disappear, but they’ll be there.
To make things neater, because it’s a 1/2″ circle label, you’ll want to center the text Horizontally and Vertically as we did below by first right clicking, and then clicking on table properties in the pop up dialoge box.
No when you click on the table properties, click on the cell tab, and choose the vertical centering icon. Centering horizontally is easy, just click on the center text icon in the Paragraph section of the Home tab in the “Ribbon” (the Ribbon is just the name for all of the tabs such as Home, Insert, Design, Page Layout etc) and voila:
Dissolvable 2″ Circle Labels
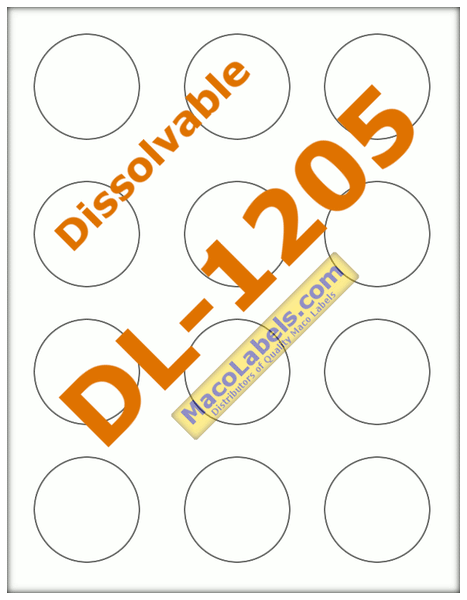
There are times when you need your labels to be durable. To last through thick and thin, wet and dry, hot and cold. Well, we understand that there are also times when you need your labels to just go away, to wash away to be more precise. The DL-1205 performs just this task. These labels can be printed on using laser printers and ink jet printers.
 FREE SHIPPING ON ALL LOWER US 48 STATES ORDERS


