FREE SHIPPING ON ALL LOWER US 48 STATES ORDERS


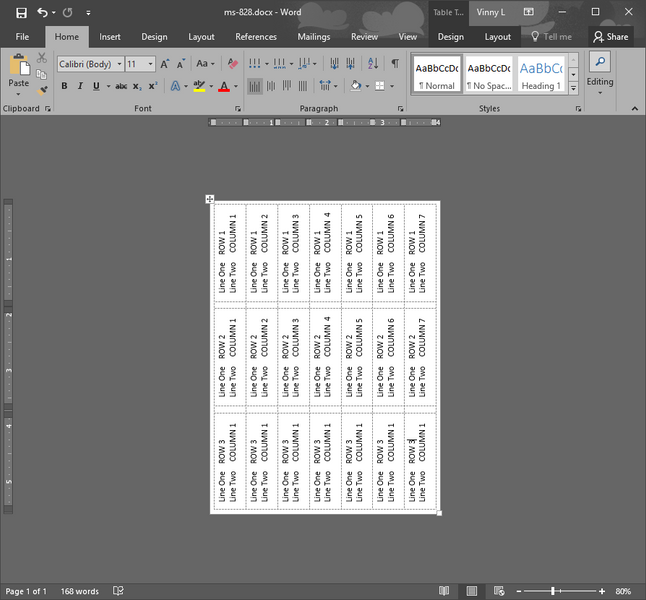
MS-828 Template
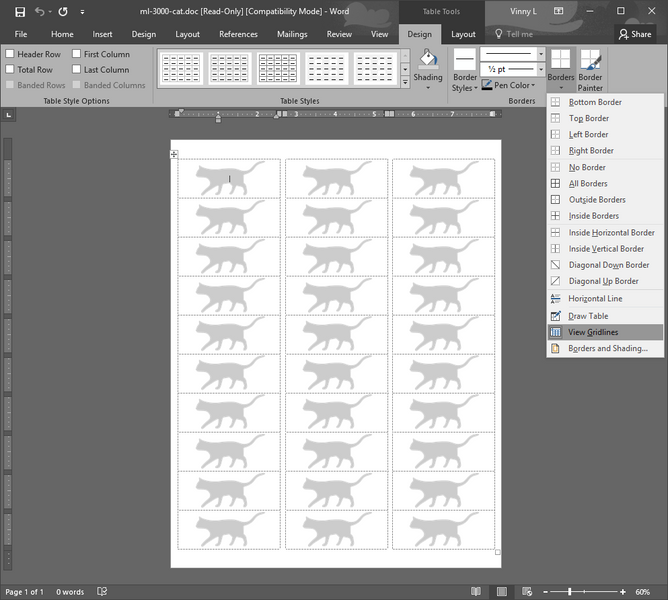
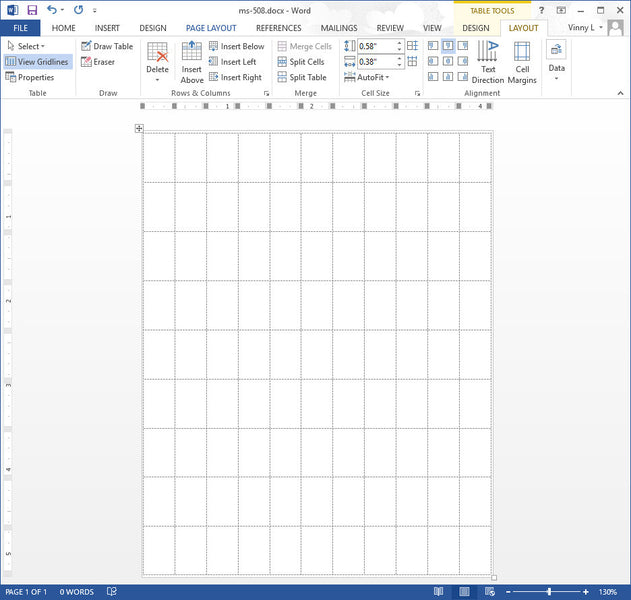
Viewing Microsoft Word Cell Grid lines -Seeing the Label Update
MS-1224 Label Template
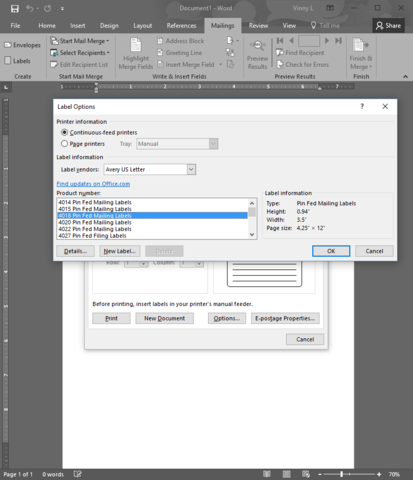
One Across Pinfed Label Template
MS-1020 5/8″ X 1-1/4″ Removable Label Template

Microsoft Excel Import from CSV Tip for Printing Correctly Formatted Zip Codes on Address Labels
Blank Name Tags
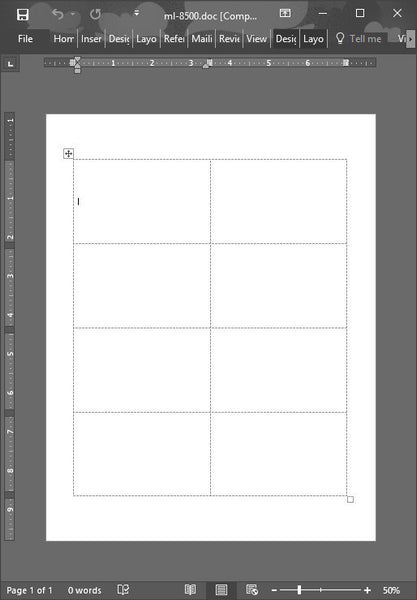
MS-508 Template
The Proper Way to Peel Off A Label
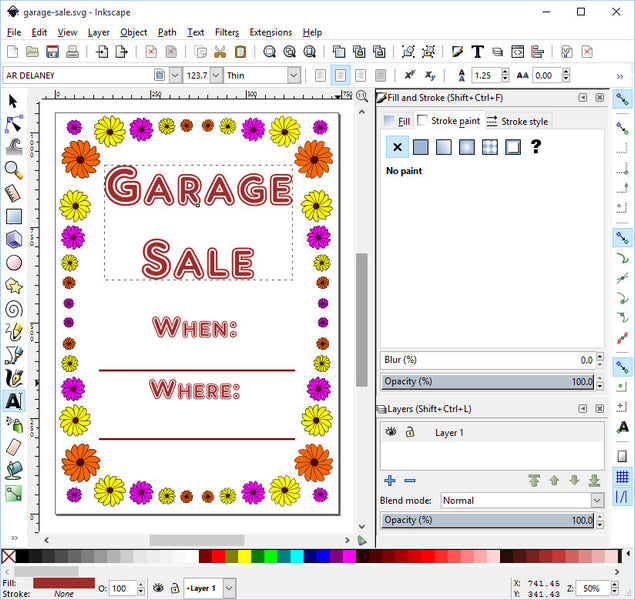
Garage Sale Sign on Full Sheet Labels
Adjusting Margins on 1/2″ Circle Label