 FREE SHIPPING ON ALL LOWER US 48 STATES ORDERS


MS-816 Label Template
Here’s a template for the MS-816 repositionable or removable label. I’ve done a couple of things here that merit talking about. The first thing I’ll mention is the shading. I shaded alternate cells in the table to make sure that my cells are lining up with my labels. It also will show you how your printer behaves with very slim margins. For instance, on a Brother HL-5250DN, a budget laser printer, you’ll notice that it will not print all the way to the edge on all sides, top, bottom, left, right. So even if the margin is supposed to be only 1/16th of an inch, what it does prints is a margin that is actually about 3/16ths. Well that’s partially true. When printing, you’ll get a dialog that say’s
“The margins of section 1 are set outside the printable area of the page. Do you want to continue?” You can choose yes or no, if you choose yes, it prints in the printable area, and does not print where it can’t, even though you might have things to print in that area. The result may be that some things that you need printed will get cut off.
The cell color is easy to remove. If you just select all of the cells, and then right click and go to “Borders and Shading”, and in the Shading tab under Fill, click on “No Color” in the drop down list.
The Second thing is the Font Direction. Lot’s of people don’t know that Microsoft Word allows you to type vertical text. Go to the Layout Tab, and all the way on the right in the Alignment section you’ll see Text Direction. It’s perfect for labels like the MS-816, where you need the text to run from top to bottom or bottom to top.
As always, keep in mind that these labels were originally designed for hand applications, not for going through a printer. Some printers can handle this label, and some cannot. If you are not comfortable putting this label through your printer, write on your labels the old school way, use a pen.
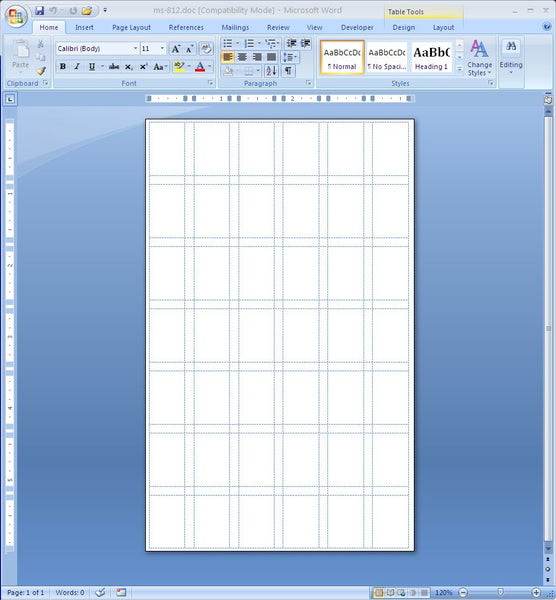
MS-812 Label Template
Ok, here’s another one of those small label templates. The MS-812. The Label size is 1/2″ X 3/4″, and it’s on a small sheet of size 3-3/4 X 6-1/16. These are removable labels and are great for a variety of applications from pricing stickers to annotation stickers.
Again, as always, your printer may or may not be compatible with this label. These labels were originally designed to be used in hand applications, and are removable.
Making Your Own Label Template
Every now and then we get a call from a customer who has some old discontinued labels hanging around that they want to print on. And even though the labels are probably 10 years old, they still want to use them. Hey, I don’t blame them in this economy. They’ve misplaced the packaging and have no idea what the part number is. One of the more common calls is for the M-5363, It has 3 across and 8 down, for a total of 24 labels on the page.
It’s pretty easy to create your own template in Microsoft Word 2007, just follow the directions below.
Step 1.
Click on the Mailings tab
After clicking on the Labels icon (just below the Mailings icon), you’ll see the dialog box in step 2.
Step 2.
Then click on the little picture of the label that is pictured in the box titled “Label”. This will open a new dialog box for step 3.
Step 3.
Make sure the Label Vendor drop down box is set to “Other/Custom”. Click on the New Label button, and you’ll see another dialog box pop up in step 4.
Step 4.
Just fill out the form below using the dimensions of the label and layout on the page.
Then click the OK button. This will take you to the dialog box in Step 3. Click the OK button there too. Then click on the “New Document” button in the dialog box from step 2, and you’re done. You’ll get the label below.
